How to Remove Car Emblem Adhesive Without Damage
Removing Car Emblem Adhesive
When it comes to learning how to remove car emblem adhesive, it is essential to follow a systematic approach to avoid any damage to the vehicle’s paintwork.
Preparing the Area
Before starting the removal process, the area around the badge needs thorough cleaning. This can be done using a rinseless wash process. One effective method involves using Optimum No Rinse (ONR) and a microfiber towel.
| Step | Description |
|---|---|
| 1 | Mix ONR according to the manufacturer’s instructions. |
| 2 | Apply the mixture to the area around the emblem. |
| 3 | Use a microfiber towel to gently wipe away any dirt or grime. |
Cleaning ensures that no dirt particles scratch the paint during the adhesive removal process.
Heating the Badge
Heating the badge helps to soften the adhesive, making it easier to remove. While a heat gun is effective, it can also pose the risk of damaging the vehicle’s paint if not used carefully. A regular hairdryer is a safer alternative, as it heats the adhesive without reaching overly high temperatures.
| Step | Tool | Duration |
|---|---|---|
| 1 | Hairdryer | 30-60 seconds |
| 2 | Heat Gun | 10 seconds or less (Detailed Image) |
By heating the emblem, the adhesive beneath becomes pliable, facilitating easier removal with minimal risk of paint damage.
For more detailed steps on heating techniques for adhesive removal, check out our related guide on how to remove adhesive from unfinished wood.
By preparing the area and heating the badge adequately, the subsequent steps in removing the car emblem adhesive become considerably easier and more efficient.
Removing the Emblem
Using a Plastic Razor Blade
Heating up the badge with a regular hair dryer or heat gun can help loosen the adhesive at the back, making it easier to start the debadging process. Once the adhesive is softened, a plastic razor blade can be used to cut through the adhesive behind the emblem. This tool is preferred for its ability to cut without damaging the car’s paint.
Here are the steps to follow:
- Heat the emblem to soften the adhesive.
- Carefully slide the plastic razor blade under the edge of the emblem.
- Gently slice through the adhesive, working your way around the badge.
Using a plastic razor blade minimizes the risk of scratching the paint.
Alternatives for Removal
If a plastic razor blade is not available, fishing line or strong sewing thread can serve as effective alternatives to cut through the adhesive.
Steps for using fishing line or sewing thread:
- Heat the emblem as described above.
- Hold the fishing line or thread taut and slide it behind the badge.
- Use a sawing motion to cut through the adhesive, working methodically around the emblem.
After the badge is removed, residual adhesive may still be present on the car’s surface. A microfiber towel and light heat can help wipe off the remaining adhesive. For tougher adhesive residue, a product like Goof Off can be used to ensure a clean finish (Detailed Image). It often requires some grease remover and elbow grease to fully clean the area.
For further information on different adhesive products and their removal methods, check out our articles on how does contact adhesive work and how to remove adhesive hooks from wall.
Dealing with Adhesive Residue
After removing a car emblem, residual adhesive often remains on the paint surface. Dealing with this residue carefully ensures the paint is not damaged and the surface remains smooth.
Wiping Off Adhesive
Once the badge is removed, the first step in getting rid of the adhesive residue is to wipe it off using a microfiber towel and applying light heat (Detailed Image). The combination of heat and gentle wiping helps to loosen and remove most of the adhesive without damaging the paint.
Steps:
- Use a heat gun on the remaining adhesive, keeping it a few inches away from the surface to avoid overheating.
- Once the adhesive softens, use a microfiber towel to wipe it off.
- Repeat heating and wiping until most of the adhesive is removed.
Using Grease Remover
For tougher adhesive residue, additional products like grease removers are effective. Goof Off is a popular choice that can further break down and remove remaining adhesive (Detailed Image). Proper technique is necessary to ensure all adhesive is eliminated without harming the car’s paint.
Steps:
- Apply a small amount of Goof Off on a microfiber towel.
- Gently rub the area with the towel, allowing the product to dissolve the adhesive.
- Continue until all adhesive residue is removed.
- Wipe the area with a clean, damp microfiber towel to remove any remaining product.
For more tips on adhesive removal, check out our guide on how to remove weatherstrip adhesive or how to remove 3M adhesive from walls.
It’s important to remember that different adhesives may require varying techniques for removal. Using the right method and products will ensure a smooth, adhesive-free surface without damaging the underlying paint.
Achieving a Smooth Surface
After removing a car emblem, achieving a smooth surface is essential to ensure the area looks clean and uniform. Utilizing methods like the clay bar technique and polishing can help in this process.
Clay Bar Method
Using a clay bar is an effective method for removing any remaining adhesive residue and contaminants from the surface. A clay bar works by gently lifting any embedded particles on the paint surface, resulting in a smoother finish.
- Select a Clay Bar:
- Products like the Blue Clay Magic clay bar are recommended for this task.
- Prepare the Area:
- Thoroughly wash the area with soap and water to remove any loose dirt.
- Apply Lubricant:
- Use a clay bar lubricant or a detailing spray to ensure the clay bar glides smoothly over the surface.
- Use the Clay Bar:
- Gently rub the clay bar over the area in a back-and-forth motion.
- Regularly check the clay bar for dirt and fold it to expose a clean side as needed.
| Step | Task |
|---|---|
| 1 | Select a quality clay bar product |
| 2 | Wash the area with soap and water |
| 3 | Apply clay bar lubricant |
| 4 | Gently rub the clay bar over the surface |
Polishing Techniques
Once the adhesive residue is dealt with using the clay bar, polishing will help to achieve an even smoother and more refined paint surface. This step also helps in reducing any “ghosting” left by the emblem.
- Select Polishing Products:
- Use products like Meguiar’s 105 and 205 for the best results.
- Choose Appropriate Pads:
- For Meguiar’s 105, use a Lake Country Orange Pad.
- For Meguiar’s 205, use a Lake Country White Pad.
- Polish the Area:
- Apply the polishing compound to the pad.
- Use a dual-action polisher or a rotary polisher to work the compound into the paint.
- Begin with the Orange Pad and 105 compound to remove deeper imperfections.
- Follow with the White Pad and 205 compound for paint refinement.
By following these steps, the paint surface should become smooth and free from noticeable imperfections, improving the overall appearance after emblem removal.
For more detailed tips on similar adhesive removal methods, check our guide on how to remove adhesive from glass mirror.
Addressing “Ghosting”
After removing a car emblem, “ghosting” can be a common concern. Ghosting refers to the residual shadow left by the removed badge, which can be particularly noticeable on older or poorly maintained vehicles.
Factors Affecting Ghosting
Several factors can influence the visibility of ghosting:
-
Age of the Paint: Older cars are more likely to exhibit ghosting due to the aging of the paint. Over time, paint can fade, making the area previously covered by the emblem appear different in color (Detailed Image).
-
Paint Quality: Newer cars generally have better paint quality and maintenance, reducing the likelihood of ghosting. Advanced paint technology in modern vehicles helps maintain a consistent appearance, even after badge removal (Detailed Image).
-
Paint Maintenance: Regular washing, polishing, and waxing contribute to maintaining the paint’s quality, minimizing visible discrepancies after emblem removal. Poorly maintained paint is more susceptible to ghosting due to dirt accumulation and lack of protective layers.
| Factor | Impact on Ghosting |
|---|---|
| Age of Paint | Older paint likely to show more ghosting |
| Paint Quality | High-quality paint reduces ghosting chances |
| Paint Maintenance | Well-maintained paint shows less ghosting |
Polishing for Paint Refinement
To address ghosting, polishing can be an effective method. It helps blend the area where the emblem was removed with the surrounding paint, minimizing the shadow effect. Here are some techniques for polishing:
-
Select the Right Polishing Compound: Choose a polishing compound suitable for your car’s paint type. For older paint, a more aggressive compound may be required.
-
Use a Dual Action Polisher: A dual-action polisher can safely and effectively remove minor imperfections without causing additional damage to the paint.
-
Apply the Compound: Apply a small amount of polishing compound to the affected area and use the polisher to work it in. Ensure even pressure and consistent movement across the surface.
-
Buff and Inspect: After polishing, buff the area with a clean microfiber cloth. Inspect the surface to evaluate the reduced visibility of ghosting.
To explore more about dealing with adhesives and cleaner finish, our articles on how to remove self-adhesive shower door handles and how to remove 3M adhesive from walls can provide additional insights.
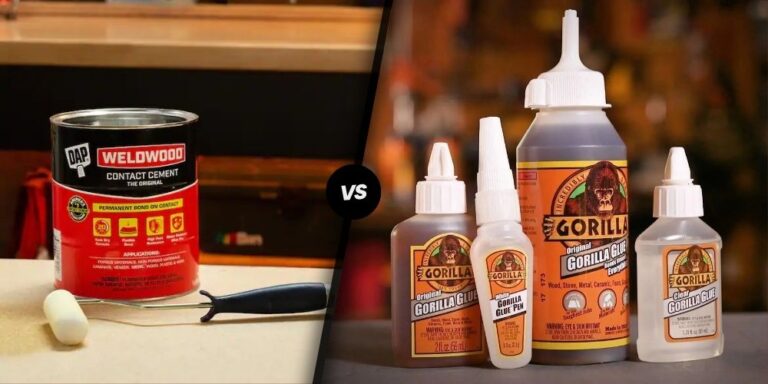
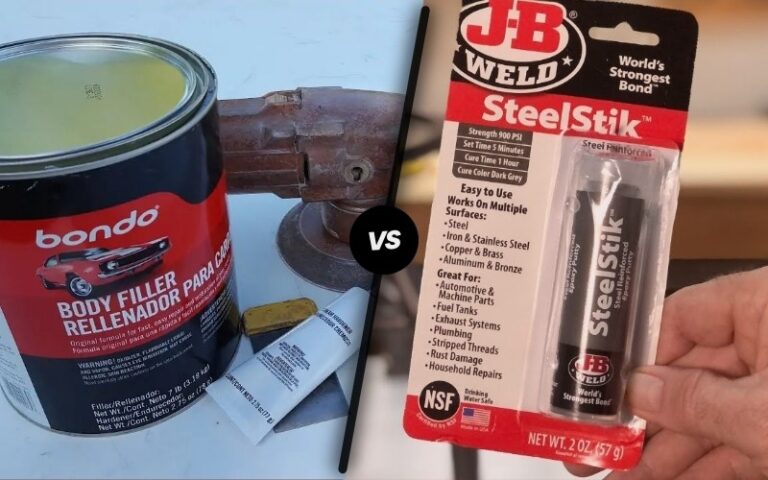
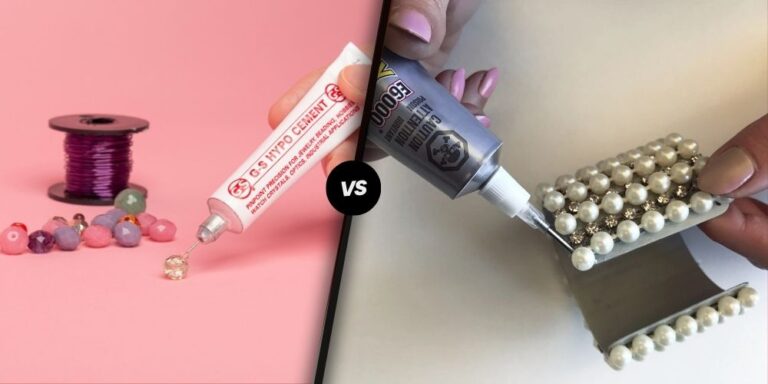
For further details on how various adhesives compare, check out comparisons such as e6000 vs. jb weld or b7000 vs. super glue.
