Can You Use Grout as Tile Adhesive: Expert Analysis
Tile Adhesive vs Grout
Understanding Their Functions
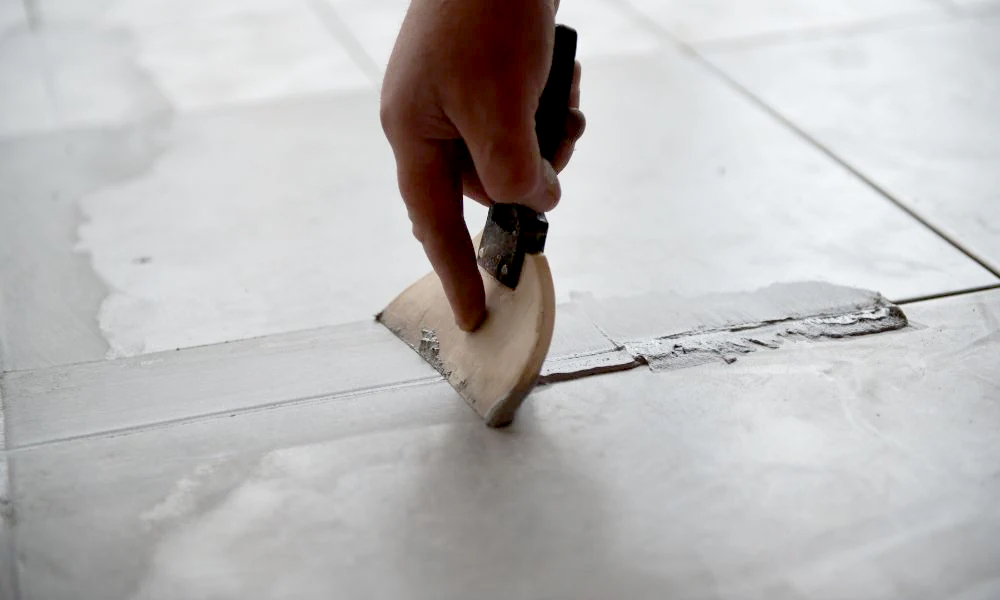
To understand whether you can use grout as tile adhesive, it’s important to first know the distinct roles each plays in the tile installation process. According to Flooring Solutions, tile adhesive is specifically designed to secure tiles to the surface on which they are being installed, acting as the primary bonding agent. Grout, on the other hand, is a cement-based material used to fill the gaps between tiles, providing a finished look and preventing the buildup of bacteria, germs, and mold.
Tile adhesives come in various formulations and are used to adhere different types of tiles, including ceramic, porcelain, and stone, to walls and floors. Once the adhesive has set and the tiles are firmly in place, grout is then applied to fill the joints, ensuring structural integrity by preventing chips and cracks along tile edges (Flooring Inc.).
Different Types Available
Both tile adhesives and grouts come in various types, each suited for specific applications.
Types of Tile Adhesive:
- Thin-Set Mortar: A blend of cement, sand, and a water-retention agent, thin-set mortar is widely used due to its versatility and strong bonding properties.
- Modified Thin-Set Mortar: Enhanced with polymers for improved flexibility and adhesion, making it suitable for surfaces prone to movement or moisture.
- Epoxy Adhesive: Highly durable and resistant to chemicals and moisture, epoxy adhesive is ideal for challenging environments.
Types of Grout:
- Sanded Grout: Contains sand and is recommended for large tile joints (1/8” to 1/2” wide). It fills large gaps, prevents shrinking, and provides durability (Flooring Inc.).
- Unsanded Grout: Lacks sand, making it suitable for smaller joints (up to 1/8” wide). Ideal for walls, countertops, and bathtub enclosures where less foot traffic occurs.
- Epoxy Grout: Offers the highest durability, being waterproof and chemical-resistant. Suitable for industrial floors and areas prone to moisture.
| Material | Primary Use | Pros | Cons |
|---|---|---|---|
| Tile Adhesive | Securing tiles in place | Strong bond, versatile | Can be more expensive |
| Grout | Filling gaps between tiles | Prevents mold, adds stability | Not intended for bonding tiles |
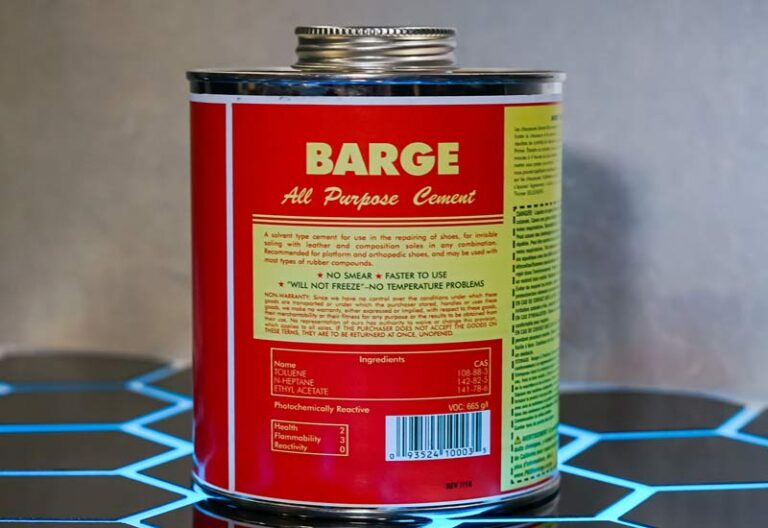
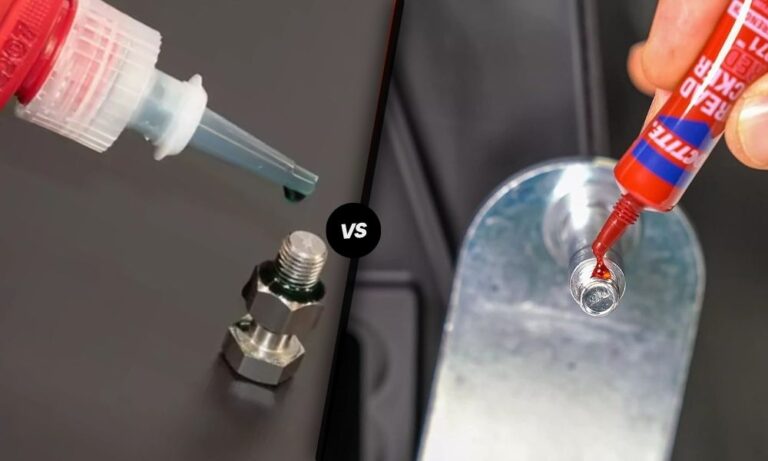
For more insights on adhesive comparisons, check out our articles on liquid nails vs. pl premium or loctite 510 vs. 515.
Understanding these distinctions is crucial when considering whether grout can be used as tile adhesive. Knowing their specific roles and types helps in selecting the right materials for a successful tiling project.
Using Grout as Tile Adhesive
Feasibility and Considerations
The primary purpose of grout is to fill the spaces between tiles, providing a clean and finished appearance for newly installed tiles. Grout comes in various types, including sanded, unsanded, and epoxy, each designed for specific applications.
However, using grout as a tile adhesive is not recommended. Grout lacks the adhesive properties necessary to bond tiles securely to surfaces. While grout can provide some additional bonding strength, its main function remains that of filling and sealing the joints between tiles. It does not offer the same reliability or durability as thin-set mortar or other specialized tile adhesives.
Implications and Risks
Using grout as an adhesive can come with significant risks and drawbacks. Here are some considerations:
-
Lack of Adhesion: Grout is not formulated to provide a strong bond between the tile and the substrate. This can result in tiles slipping or becoming loose over time.
-
Durability Issues: Tiles installed with grout in place of proper adhesive may not withstand foot traffic, leading to potential damage and the need for frequent repairs.
-
Moisture Vulnerability: Unlike proper tile adhesives, grout may not effectively seal the tile against moisture permeation, leading to potential water damage to the subfloor or the adhesive layer.
| Aspect | Thin-Set Mortar | Grout |
|---|---|---|
| Bond Strength | High | Low |
| Durability | High | Low |
| Moisture Resistance | High | Moderate |
| Recommended Use | Adhering Tiles | Filling Gaps Between Tiles |
Learn more about different gluing techniques and materials in our articles on loctite 510 vs. 515 and masking tape vs scotch tape.
For a strong and reliable tile installation, it’s essential to use products designed for tile adhesion, such as thin-set mortar or modified thin-set. These materials not only ensure secure bonding but also provide additional properties like flexibility and moisture resistance. If you’re looking for the best adhesive, check out our comparison on loctite pl 500 vs. pl premium.
Thin-Set Mortar and Modified Thin-Set
Understanding the applications and suitability of thin-set mortar and its modified counterpart is crucial for effective tile installations. Thin-set mortar is a cement-based adhesive commonly used for setting tiles, while modified thin-set includes additives that enhance its performance.
Applications and Suitability
Thin-set mortar is widely used for tiling projects, especially in areas subjected to water exposure, such as bathrooms and kitchens. It provides a strong bond between the tile and the substrate, ensuring durability and stability.
Modified thin-set, on the other hand, contains polymers that improve its properties, making it suitable for a broader range of applications. These additives increase adhesive strength, flexibility, and moisture resistance. They are particularly useful when tiling over challenging substrates or using large format tiles. For instance, large format tile mortars, also known as medium bed mortars, are designed for tiles with at least a single edge 15” or longer (Flooring Inc.).
| Application | Thin-Set Mortar | Modified Thin-Set |
|---|---|---|
| Water Exposure Areas | Yes | Yes |
| Challenging Substrates | Limited | Ideal |
| Large Format Tiles | Not Ideal | Ideal |
| Moisture Resistance | Moderate | High |
Benefits and Alternatives
The primary benefits of using thin-set mortar and modified thin-set are their strong bonding capabilities and versatility. The addition of polymers in modified thin-set enhances its performance, making it more suitable for various conditions and substrates (Flooring Inc.).
Despite their effectiveness, there are alternatives to consider for specific situations:
- Water-Based Tile Adhesive: Easier to apply and less messy, suitable for smaller projects and repairs.
- General-Purpose Glue (e.g., Liquid Nails): Convenient for quick fixes but not ideal for areas with heavy water exposure.
These alternatives provide benefits such as time savings, ease of application, and less preparation work. However, they might not offer the same level of durability and strength as thin-set mortar, especially for tiles exposed to significant moisture.
For more information on adhesives, you may also be interested in our guides on liquid nails vs. pl premium and loctite pl 500 vs. pl premium.
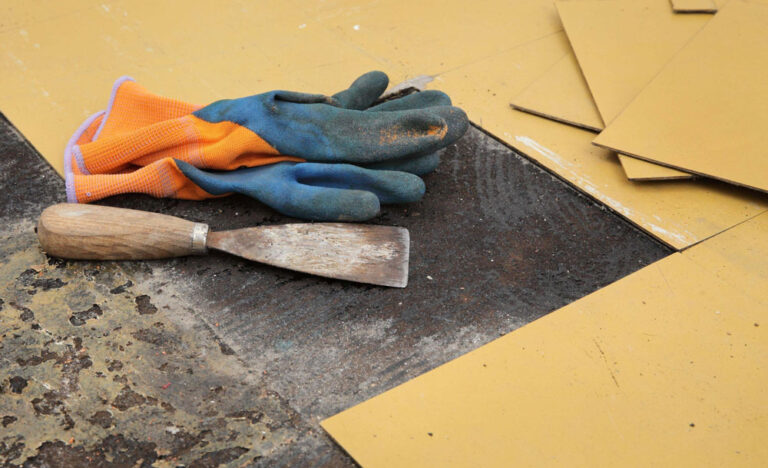
Choosing the right adhesive and application method is essential for a successful tiling project. Proper preparation, such as cleaning the old mortar and scoring the subfloor, will ensure a long-lasting and durable finish.
Choosing the Right Trowel
Selecting the right trowel is crucial for effectively setting tiles and ensuring a strong bond between the tile and the surface. Trowels come in various shapes and sizes to suit different tiling needs.
Essential Tool for Tile Setting
Notched trowels are indispensable tools in the tiling process. They scoop up thin-set mortar adhesive and spread it over floors and walls. This process creates complete coverage, bonding the tile securely to the surface (MARSHALLTOWNWORKSHOP). The shape and size of the notches play a critical role in achieving the desired finish.
Notched Trowel Varieties
Understanding the different types of notched trowels available helps in choosing the right one for your tiling project.
Square and U-Notched Trowels
Square and U-notched trowels are common for most wall and floor tile installations. They create neat rows of ridges and valleys that ensure even coverage and a robust bond. These trowels are suitable for materials like metal tiles, porcelain, ceramic, larger mosaic meshes, and natural stone and cement tiles up to 16 square feet (MARSHALLTOWNWORKSHOP).
Slant Notched Trowels
Slant notched trowels, such as the MARSHALLTOWN LayFlat™ Notched Trowel, are designed for some wall and floor tile applications. Their wave-like ridges promote better air evacuation and create a more flexible, stronger bond.
Elliptical or Deep U-Notched Trowels
Elliptical or deep U-notched trowels are essential for laying massive slabs of natural stone such as granite or marble. The deep U-notch shape is recommended for floor tile installations, especially due to the size and weight of these tiles, ensuring that the thin-set is distributed adequately.
V-Notched and Flat V-Notched Trowels
The V-notched trowel is ideal for installing small wall tiles like mosaic backsplashes, detailed tile work, and lightweight glass or ceramic tiles up to six square inches. The Flat V-notched trowel is better suited for heavier, small wall tiles like natural stone mosaics or glazed ceramic up to six square inches (MARSHALLTOWNWORKSHOP).
| Trowel Type | Best For | Examples of Tile Types |
|---|---|---|
| Square and U-Notched | Most wall and floor tiles | Metal, porcelain, ceramic, larger mosaics, natural stone, cement tiles |
| Slant Notched | Some wall and floor tiles | General wall and floor applications |
| Elliptical or Deep U-Notched | Heavy, massive slabs of natural stone | Granite, marble |
| V-Notched | Small wall tiles | Mosaic backsplashes, detail work, lightweight glass or ceramic tiles |
| Flat V-Notched | Heavier small wall tiles | Natural stone mosaics, glazed ceramic |
Choosing the right trowel ensures proper application and bonding of tiles, contributing to the overall durability and finish of your tiling project. For more tips on adhesive and glue comparisons, check out our articles on liquid nails vs. pl premium and contact cement vs. epoxy.
Tiling Over Existing Tiles
Tiling over existing tiles can be a viable option, provided the proper assessments and preparations are done. This section highlights the necessary steps and the pros, cons, and structural considerations associated with this method.
Assessment and Preparations
Before embarking on tiling over existing tiles, a thorough inspection is critical. This assessment ensures the old tiles are well-adhered to the substrate.
Steps for Assessment
- Check Adhesion: Tap the existing tiles with the back of a screwdriver to listen for any hollow sounds. Loose tiles indicate poor adhesion and must be re-bonded or removed (Tile Wizards).
- Evaluate Conditions: Inspect the condition of the old tiles. Broken or severely damaged tiles must be replaced or resecured using thinset tile mortar.
- Clean and Prep Surface: Clean the surface thoroughly to remove any dirt, grease, or soap residue. Any existing grout gaps should be filled to create a smooth base.
Table: Assessment Steps
| Step | Action | Description |
|---|---|---|
| 1 | Check Adhesion | Tap tiles to identify loose tiles |
| 2 | Evaluate Conditions | Inspect for damages and fill gaps |
| 3 | Clean Surface | Remove dirt and residues |
Pros, Cons, and Structural Considerations
Choosing to tile over existing tiles offers several benefits and challenges. Additionally, various structural considerations must be taken into account.
Pros
- Cost-Effective: Reusing existing tiles can save on material costs and labor.
- Time-Saving: Skipping the tile removal process saves significant time and avoids debris.
- Less Messy: Avoids the dust and mess associated with removing old tiles.
Cons
- Increased Height: Adding a layer of tiles increases floor height, which can range from ⅓” to 1″, potentially requiring door adjustments, furniture repositioning, and attention to obstructions or tripping hazards (Contractors Direct).
- Weight Issues: Adding a second tile layer increases the floor’s weight load. Ceramic tiles weigh 4 to 6 lbs. per sq. ft., while stone tiles can weigh up to 8 lbs. per sq. ft. Ensuring the floor can support this additional weight is critical and may require consulting a structural engineer (Contractors Direct).
- Imperfections: Any structural imperfections in the subfloor remain unaddressed. Uneven surfaces may require self-leveling compounds.
Table: Pros and Cons
| Aspect | Pros | Cons |
|---|---|---|
| Cost | Saves money on materials | Potential need for additional tools |
| Time | Quick installation process | May not address underlying issues |
| Cleanliness | Less debris and mess | Increased floor height considerations |
| Weight | No heavy removal | Adds extra weight to structure |
Tiling over existing tiles demands careful preparation and evaluation (see our comprehensive guide on using grout as tile adhesive). By weighing the pros and cons and considering the structural constraints, one can make an informed decision. For further reading on adhesive options, explore our articles on liquid nails vs. pl premium and contact cement vs epoxy.
Temporary Flooring Solutions
For renters, finding the right temporary flooring solutions can be essential in creating a comfortable and aesthetically pleasing living space without violating lease terms. Here, we explore various flooring options and discuss their benefits and precautions.
Options for Renters
Renters have several temporary flooring solutions at their disposal:
- Interlocking Floor Tiles:
- Easy to install and remove.
- Come in a variety of materials, including rubber, vinyl, and foam.
- Vinyl Stickers and Decals:
- Peel-and-stick options are available.
- Affordable and come in various designs and patterns.
- Carpet Tiles:
- Modular and can be replaced individually.
- Offer soft underfoot comfort.
- Temporary Carpet:
- Rolled carpets that can be laid down without adhesives.
- Ideal for covering larger areas.
- Laminate Flooring:
- Floating floors that click together.
- Require an underlayment that protects existing flooring.
| Flooring Type | Installation Difficulty | Cost | Durability |
|---|---|---|---|
| Interlocking Tiles | Easy | $$ | High |
| Vinyl Stickers | Easy | $ | Moderate |
| Carpet Tiles | Moderate | $$ | High |
| Temporary Carpet | Easy | $$ | Moderate |
| Laminate Flooring | Moderate | $$$ | High |
Benefits and Precautions
Temporary flooring solutions come with specific benefits and must consider certain precautions:
Benefits
- Non-permanent:
- Can be easily removed or replaced without causing damage to existing floors.
- Cost-effective:
- Typically less expensive than traditional flooring options.
- Versatile and Aesthetic:
- Available in a variety of designs, colors, and textures to suit personal tastes.
- Easy Installation:
- Most options are designed for DIY installation, minimizing the need for professional help.
Precautions
- Compatibility with Existing Floors:
- Ensure the chosen temporary flooring is compatible with the existing flooring material to avoid damage or slipping.
- Installation Guidelines:
- Follow manufacturer instructions carefully to ensure proper installation and avoid potential hazards.
- Regular Maintenance:
- Temporary flooring solutions may require specific cleaning and maintenance routines to keep them in good condition.
- Weight Considerations:
- Some options, like laminate flooring, may add weight to the structure. It’s essential to ensure the underlying floor can support this additional weight.
To learn more about the best adhesive options for various applications, check out our articles on liquid nails vs. PL Premium and Loctite 510 vs. 515. For comparing adhesive effectiveness, explore contact cement vs. epoxy and contact cement vs. Gorilla Glue.
Selecting and installing the right temporary flooring can enhance the functionality and style of rental spaces without permanent alterations. Visit our other guides on tacky glue vs. hot glue and aquaseal vs. Shoe Goo for additional insights on adhesives and their uses in various projects.

