Adhesive Tile Mat vs Mortar: Installation Guide
Here’s a detailed comparison article on Adhesive Tile Mat vs. Mortar to meet your word count and cover every aspect thoroughly:
Adhesive Tile Mat vs Mortar: Which is Better for Your Tiling Project?
When it comes to tiling walls, floors, or backsplashes, one of the most crucial decisions you’ll make is choosing the right adhesive to secure your tiles. In most cases, you’ll face two popular options: adhesive tile mats and mortar (usually thin-set mortar). Both methods have their advantages and disadvantages, and the best choice depends on your project’s requirements, budget, and skill level. This article explores the differences, pros and cons, application techniques, and ideal use cases for both adhesive tile mats and mortar.
What Are Adhesive Tile Mats?
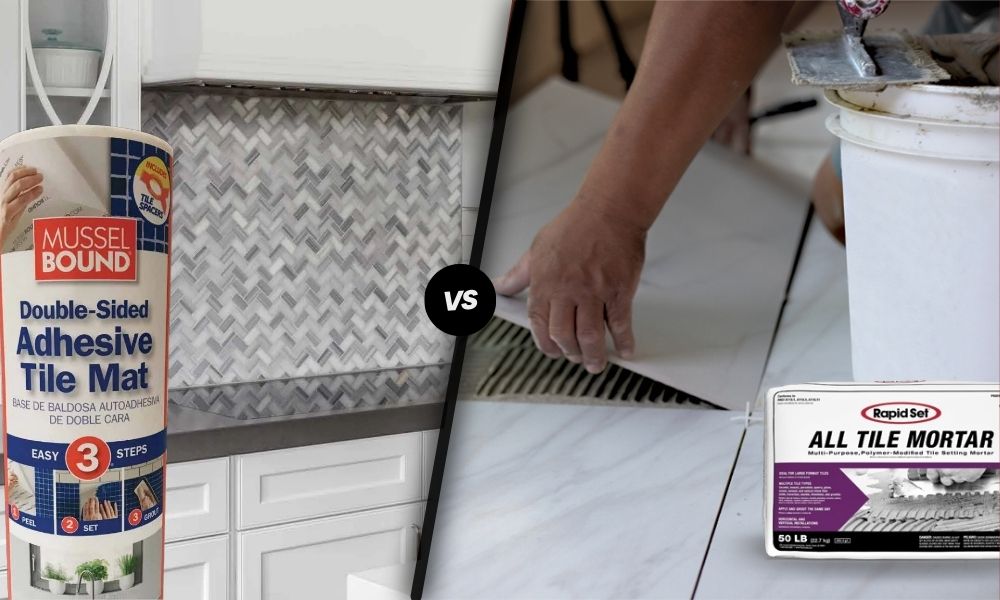
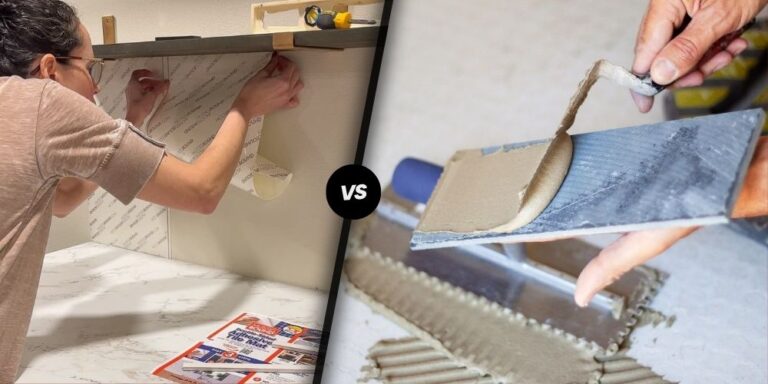
Adhesive tile mats are pre-made adhesive sheets that act as a double-sided tape for tiling. These mats typically come in peel-and-stick sheets or rolls and are designed to stick directly to clean surfaces like drywall, plywood, or existing tiles. Once applied to the surface, the tiles can be pressed onto the adhesive mat without the need for additional bonding materials.
Advantages of Adhesive Tile Mats
- Quick and Easy Installation:
Tile mats require no mixing, waiting, or specialized tools. Simply peel the backing, stick the mat onto the wall or surface, and press your tiles in place. - Minimal Mess:
Unlike mortar, which can be messy and difficult to clean, adhesive mats eliminate the need for cement-based products, reducing dust and cleanup time. - No Drying or Curing Time:
Since adhesive mats don’t require curing like mortar, you can grout tiles almost immediately after installation. - Great for DIY Projects:
Ideal for homeowners with minimal experience, adhesive mats are user-friendly and require less technical expertise. - Reduced Weight on Walls:
Adhesive mats work well for vertical surfaces like kitchen backsplashes or bathroom walls, where traditional mortar might sag under the tile’s weight if not applied correctly.
Disadvantages of Adhesive Tile Mats
- Limited Strength:
Adhesive mats are not as strong as mortar and may not support heavy tiles, such as natural stone or large-format tiles. - Higher Cost:
Tile mats are generally more expensive than mortar, especially for larger projects. - Heat and Moisture Limitations:
Adhesive tile mats may not perform well in areas exposed to high temperatures (e.g., near stoves or fireplaces) or in constantly wet areas like shower floors. - Limited Durability:
Over time, the adhesive on tile mats may degrade in certain conditions, leading to reduced tile adhesion.
What Is Mortar (Thin-Set)?
Mortar, specifically thin-set mortar, is a cement-based adhesive commonly used in tiling. Thin-set is made by mixing a dry powder with water (or a liquid additive) to create a paste that bonds tiles to various surfaces. It comes in different formulations for specific uses, such as standard, polymer-modified, and quick-set options.
Advantages of Mortar
- High Bond Strength:
Mortar creates a strong, durable bond that can support heavy tiles and high-traffic areas. It’s ideal for both floors and walls. - Versatile Applications:
Mortar works well on a variety of surfaces, including concrete, backer boards, plywood, and existing tiles. There are also special types of mortar designed for wet or outdoor environments. - Cost-Effective:
For large projects, thin-set mortar is much more affordable than adhesive tile mats. - Long-Term Durability:
Mortar has excellent longevity and can withstand high heat, moisture, and temperature fluctuations without breaking down. - Customizable:
You can choose between different mortar types based on your needs, such as fast-drying mortar for quick installations or polymer-modified mortar for enhanced flexibility.
Disadvantages of Mortar
- Complex Installation:
Mixing, spreading, and leveling mortar requires experience and specialized tools like a trowel. Improper technique can lead to uneven tiles, poor adhesion, or sagging on vertical surfaces. - Mess and Cleanup:
Mortar can be messy to work with, producing dust during mixing and requiring thorough cleaning of tools and surfaces. - Curing Time:
Mortar needs time to cure (usually 24 to 48 hours), which delays grouting and overall project completion. - Heavier Weight:
Mortar can add significant weight to vertical surfaces, increasing the risk of tiles sliding out of place without proper support.
Key Differences Between Adhesive Tile Mats and Mortar
| Feature | Adhesive Tile Mat | Mortar (Thin-Set) |
|---|---|---|
| Ease of Use | Very easy; ideal for beginners | Requires experience and skill |
| Installation Time | Quick; no drying or curing time | Longer due to mixing, spreading, and curing |
| Strength | Moderate; not ideal for heavy tiles | High; suitable for large and heavy tiles |
| Mess | Minimal; no dust or cleanup | Messy; requires extensive cleaning |
| Cost | Higher for small projects | More affordable for larger projects |
| Durability | Moderate; adhesive may degrade over time | High; designed for long-term durability |
| Applications | Backsplashes, small wall areas | Floors, walls, wet areas, and high-traffic zones |
When to Use Adhesive Tile Mats
Adhesive tile mats are best suited for:
- Small, simple projects where convenience and speed are priorities.
- DIY projects where the installer has limited experience.
- Wall installations such as kitchen backsplashes, accent walls, or bathroom walls (outside of the shower area).
- Areas where minimal mess and immediate grout application are desired.
If your project involves lightweight ceramic or porcelain tiles and doesn’t require heavy-duty bonding, adhesive tile mats can save you time and effort.
When to Use Mortar
Mortar is the preferred choice for:
- Large-scale projects such as entire floors, high-traffic areas, and outdoor spaces.
- Heavy tiles, including natural stone, marble, or large-format tiles.
- Wet environments like shower walls, floors, and swimming pool areas.
- Installations requiring long-term durability, strength, and resistance to heat or moisture.
Professional installers typically favor mortar for its versatility and ability to handle complex projects.
Cost Comparison
Adhesive Tile Mats:
- Cost: Typically $1.50 to $3.00 per square foot.
- Additional Materials: Minimal (only tiles and grout).
Mortar (Thin-Set):
- Cost: About $0.50 to $1.00 per square foot (for standard thin-set mortar).
- Additional Materials: Trowels, mixing bucket, and potentially a mixer attachment for a drill.
For small, straightforward projects, the higher cost of adhesive tile mats may be justified by the time savings. However, for large projects, mortar is significantly more cost-effective.
Which Option Should You Choose?
The choice between adhesive tile mats and mortar ultimately depends on your project’s scope, budget, and your experience level. Here are a few scenarios to help guide your decision:
- If you’re a DIYer with minimal tiling experience, an adhesive tile mat is your best bet. It’s quick, easy, and less messy, making it perfect for small wall projects.
- For professionals or large projects, mortar offers the strength and versatility needed for durable, long-lasting installations. It’s essential for floors, outdoor projects, and areas exposed to moisture or heat.
- Consider the tile type: Heavy or large-format tiles require mortar, while lightweight ceramic or porcelain tiles can work with adhesive mats.
Final Thoughts
Both adhesive tile mats and mortar have their place in the tiling world. Adhesive tile mats are perfect for quick, DIY-friendly projects where convenience is key, while mortar excels in high-strength, large-scale, and professional applications. By understanding the differences and evaluating your project needs, you can choose the right adhesive method to ensure a successful and long-lasting tile installation.
